Before Japan took the national isolation policy, Chinese people were freely staying all over Nagasaki city. In 1689, the Tojin Yashiki (Foreigners’ Residence Site) was built, and they were accommodated collectively in one area of Kannai town. For 90 years between the Chinese arriving in Nagasaki and moving to the Tojin Yashiki, they had opportunities for close association with Nagasaki citizens. Chinese dishes were introduced at that time, and under the influence of Chinese dishes “shippoku” cuisine developed. Later, a western taste was blended into this Japanese dish. Today, the cuisine includes Nagasaki’s unique variety of dishes, such as kakuni (braised) pork (also called tobani), ara-no-yuhiki, nanban-dzuke (food dipped in sweet pepper sauce), Nagasaki tempura, hikado (hashed meat and vegetable stew), goren (fried chicken), Nagasaki soboro (stir fried chopped meat and vegetables) and umewan (a dessert). Usually, six or seven people take seats around a round table and eat a variety of dishes together from various sized bowls. At the end of the meal, umewan (plum bowl), which is a sweet red-bean drink with floating cherry blossoms in a bowl is served. This desert is popular even among people who don’t have a sweet tooth.
Caution: This is not an easy recipe, unlike most of the other recipes on this site. Please read each step carefully before proceeeding. No, there is no mistake in the recipe - it works, as long as you follow each step!
In my previous post about Japanese food, I talked about what makes up a typical Japanese meal, which applies to breakfast, lunch and dinner. There's a fourth meal that is very much a part of Japanese food life - oyatsu. Oyatsu is snack time, and it's usually eaten at 3 in the afternoon.
Oyatsu consists of a drink, which is usually tea for adults and milk or soft drink for kids, and a sweet or savory snack. A lot of the Japanese snack industry is geared towards oyatsu items. It's lighter than an English afternoon tea - it's more like elevenses (the snack that was traditionally consumed around 11 in the morning in England). It helps to keep hungry kids going until dinner time, and provides a good excuse for the adults to take a break.
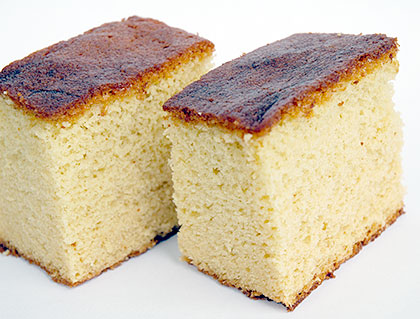
One of my favorite oyatsu snacks growing up in Japan was kasutera or castella, and it remains a favorite even now. The origins of kasutera, a light sponge cake that is most often flavored with honey, are in either Portugal, Spain, or both. The first recorded Westerners to ever land on Japanese soil were Portuguese missionaries. They were eventually kicked out along with other Westerners, when the Tokugawa government decided to close off the country to most outside contact in the 17th century. But they did leave their legacy in the form of additions to the language and to the cuisine. (Wikipedia page on kasutera's history.)
Kasutera is a kind of sweet that is hardly ever baked at home in Japan. It's available in all price ranges, from mass-produced plastic wrapped kinds that you can buy in any supermarket to expensive "gourmet" labels. Perhaps because the Portuguese influence was the strongest there, the southernmost main island of Kyushuu has some of the best kasutera makers.
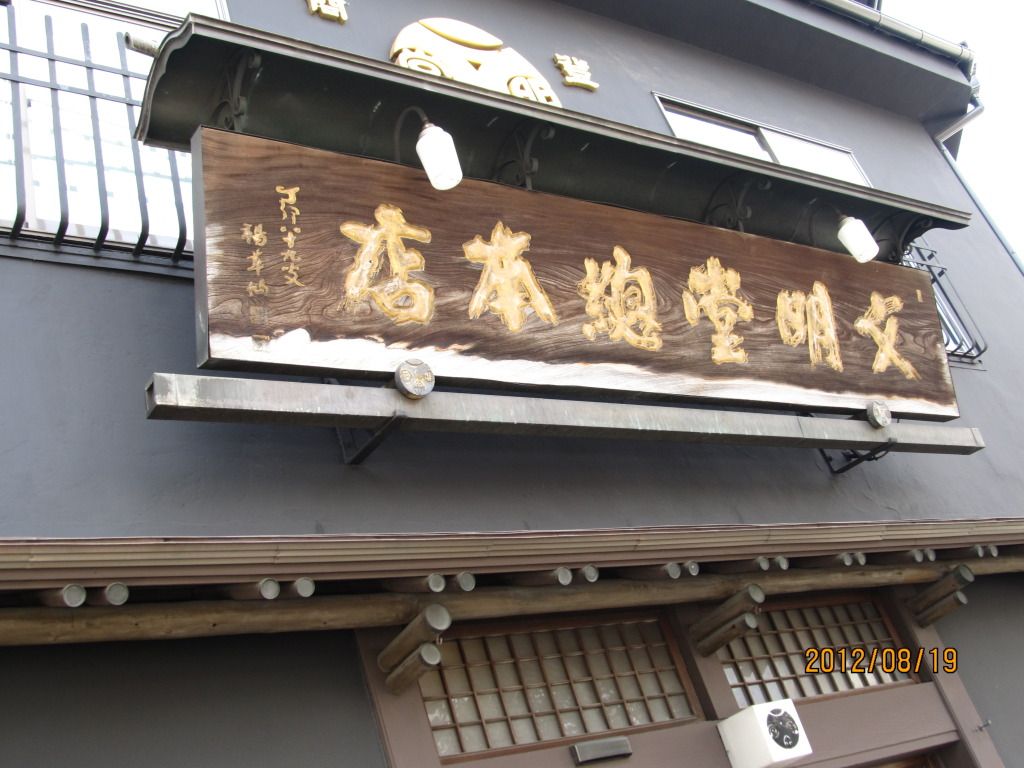
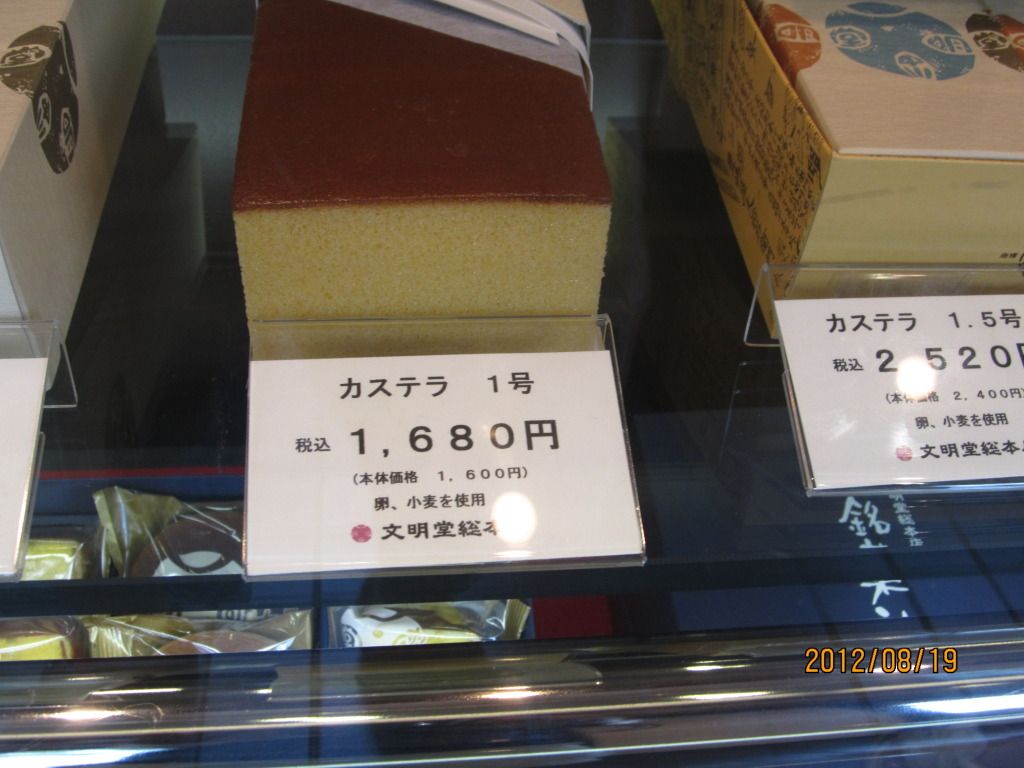
The best known mass-produced kasutera brand is Bunmeido. This is the one we ate all the time when I was growing up. I can still remember the jingle, which didn't make sense then and still doesn't make sense now -
kasutera ichiban, denwa wa niban,
sanji no oyatsu wa Bunmeido
(Kasutera no.1, telephone no. 2, 3 o'clock snack is Bunmeido)
This jingle was sung by a line of teddy bears doing the can-can. (Here's a YouTube video where you can hear the jingle, though those dudes are somewhat less cute than the original teddy bears.)
I used to work for a company run by a family from Nagasaki. Although my boss was very difficult to deal with in many respects, he almost redeemed himself in my eyes by always bringing a block of delicious kasutera with him whenever he flew back from Japan.
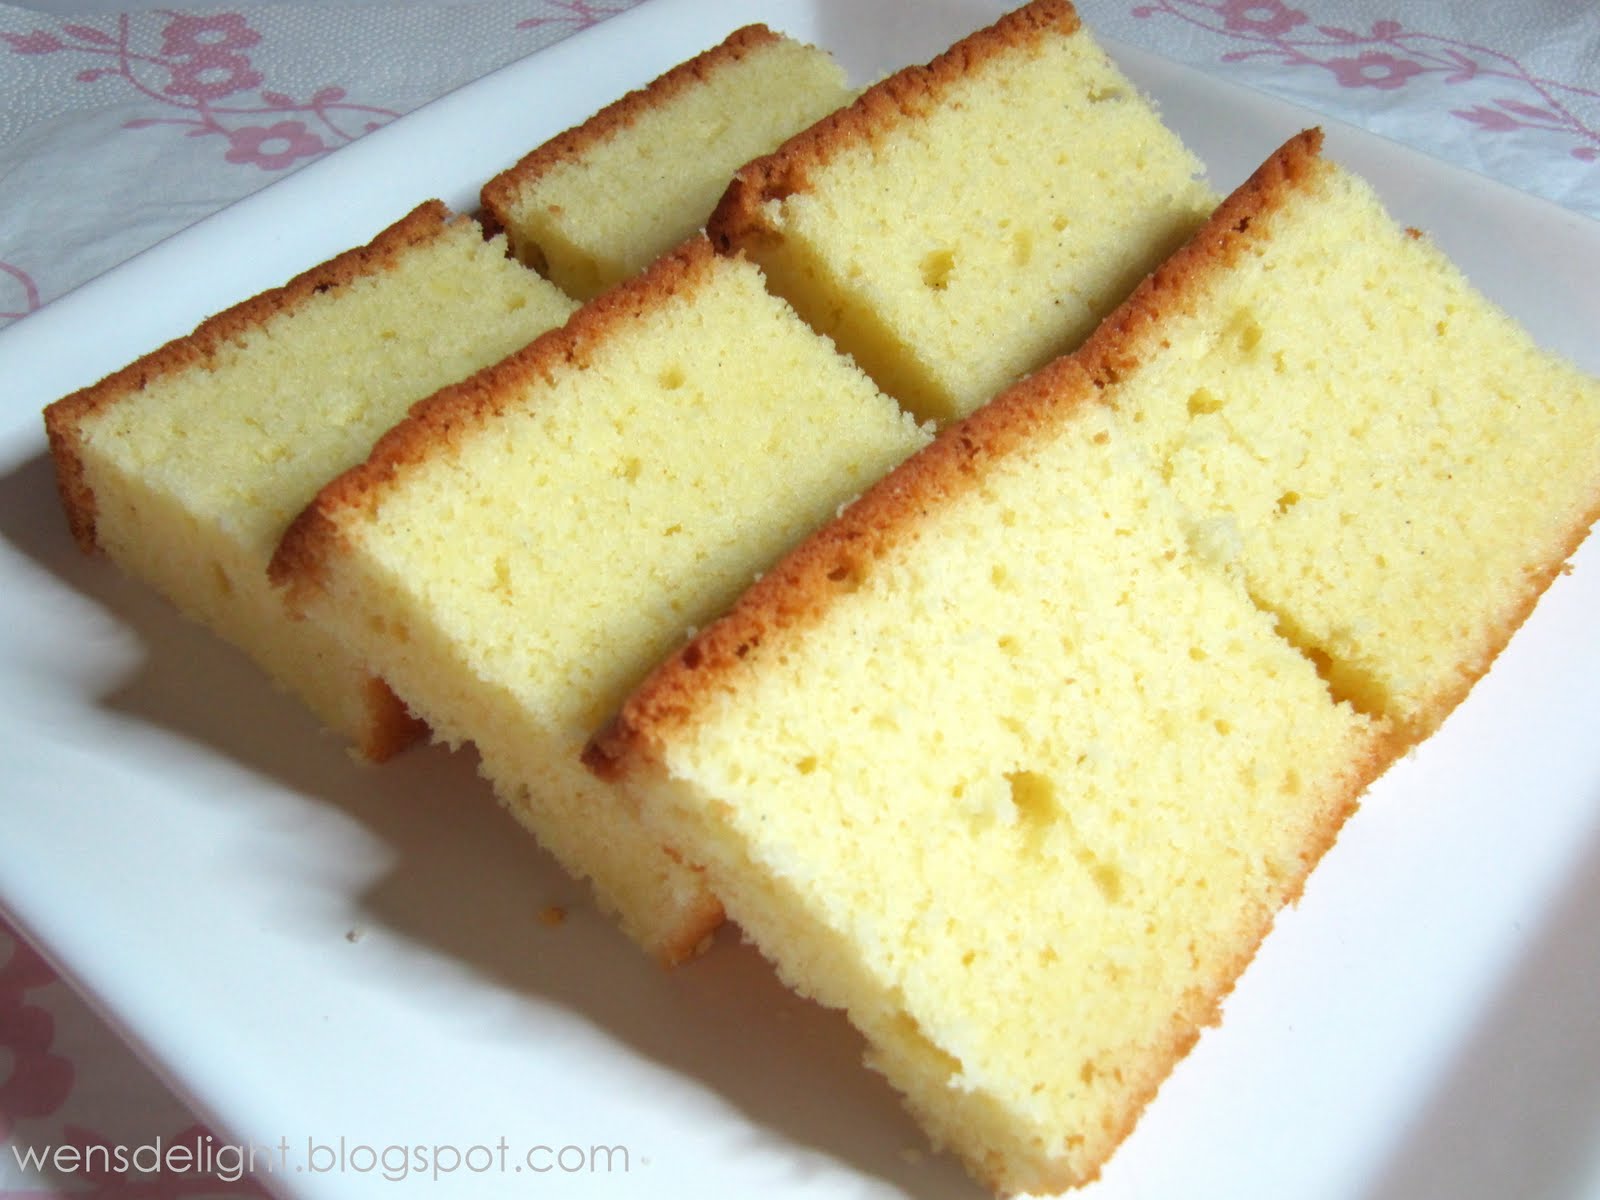
A good kasutera is moist, with a very fine texture, and is very light. It should have a dark brown and sugary top and bottom - the sides are usually cut off, exposing the yellow crumb. It is sweet yet not cloyingly sweet. It does not have a speck of oil in it - no butter, no margerine, no shortening. Yet it is very rich. The best flavoring is honey, though other sugary syrups are often used too. There are variations, like matcha (green tea) or chocolate flavored, but I prefer the traditional honey flavor.
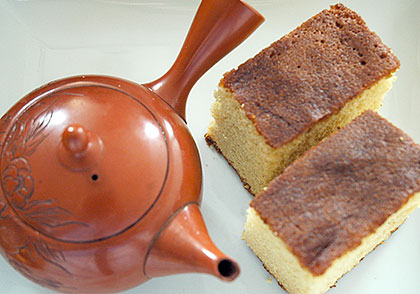
A slice of kasutera is the perfect accompaniment to a cup of hot green tea, unsweetened of course.
If I lived in Japan, frankly I don't think I would make my own kasutera because of all the delicious brands out there. It's also not that easy to make, since it uses the classical cake making method of whisking together whole eggs and sugar in a bowl over hot water until it's thick. But it's hard to get good kasutera here, so on occasion I haul out my electric whisk and get going. The results are usually worth all the effort. The only bad thing is that the kasutera disappears so fast.
Kasutera (Castella)
Please note that the measurements for the original Japanese recipe that I've adapted for this one is in metric, and unlike many other of my recipes it's best to be pretty precise in your measurements for this. So I have given amounts in grams/ounces rather than cups.
Before you proceed: Unlike most of the recipes here on Just Hungry, this one is not easy to execute. If you are a cake baking novice, you may want to tackle something simpler before trying this. Please read through the instructions completely.
- 8 whole "large" (55g) eggs
- 300g (10.5 oz) sugar, raw cane sugar preferred, or use regular granulated sugar, plus a little extra sugar for sprinkling
- 200g (7 oz) all-purpose or bread flour (not cake flour)
- 100cc (about 1/2 cup, or 3.5 fluid oz) milk
- 4 Tbs. honey, plus one extra Tbs. for the top
Equipment and other supplies:
- Electric whisk
- A rectangular cake pan, or a square 25cm / 8 inch cake pan, see notes
- Parchment paper
- A large mixing bowl
- A pan large enough to fit the bottom of the mixing bowl
- A hand whisk
- A spatula
- A pastry brush
- A plastic ziplock bag
Preheat the oven to 170°C / 340°F, or 150°C / 300°F if you're using a convection oven.
Cut the parchment paper so that it's large enough to fit the bottom and sides of the cake pan with a little excess. Fold it in until it completely covers the bottom and sides, leaving a it hanging over. (To make it stick to the pan, smear a little butter or shortening on the pan first.) Sprinkle a little sugar over the bottom, on top of the paper.
Fill the pot with water and bring to a boil, then turn off the heat.
Mix together the milk and 4 tablespoons of honey - you may need to heat up the mixture for a few seconds in the microwave.
Measure the flour and sugar. Double-sift the flour. (That means passing it through your sifter or sieve twice.)
This next step is critical to the success of this recipe. Most of the people who have had problems with it have failed at this stage. I highly recommend having at least a handheld electric whisk for this. A stand mixer may be even better, if you can fit it with a 'water jacket' to keep it warm. Break the eggs into the bowl and whisk. Add the sugar. Start whisking this while holding the bowl over the pan of hot water. As soon as the mixture feels lukewarm to the touch, take it off the water and continue whisking. If it cools down again, put it back on the hot water pan to warm it up. You get the best texture if you stick to the lowest setting on your electric whisk, or whisk by hand, but you'll be at it for a long, long time. I usually turn up my electric whisk to about setting 2 or 3 until it starts to thicken, and then do the rest of the whisking at setting 1 to have small bubbles at the end. Either way though, you'll be whisking for a very long time. (Give it at least 15 minutes with an electric whisk, and a lot longer by hand.)
When you are done the batter will be thick enough to form soft peaks when you draw up your whisk. If you write your initial on the surface with the whisk, it should stay there long enough for you to read it before it disappears.
Whisk in the milk and honey mixture. Add the flour with your hand whisk a tablespoon at a time, beating until there are no pockets of flour.
Pour the batter into the pan up to the top. (see notes about what to do with any leftover batter.) Put in the oven and bake for about 50 minutes or until a skewer stuck in the middle comes out clean.
In the meantime, mix together the 1 tablespoon of honey and a little hot water, to make a glaze.
As soon as the cake is out of the oven, brush the top with the honey-water mixture.
When it's cool enough to handle but still warm, lift it out of the pan, paper and all, and put into a plastic bag. Seal the bag and put into the refrigerator, for at least several hours. This step is critical to ensure the kasutera has a moist texture. If you let it cool to room temperature before putting it in the plastic bag, it will end up a bit dry.
To serve, use a very sharp knife to make clean cuts. Cut off the sides (cook's treat) and make small, neat slices - one or two per person. Serve with hot or cold unsweetened tea.
Notes:
- This batter is the right amount for a rectangular cake pan about 30 cm long x 10 cm wide, but most people probably have a 25cm / 8 inch square cake pan, and the kasutera comes out fine in that. You may have some excess batter, which can be baked in lined cupcake/muffin tins alongside the main cake. Take the cupcakes out after 20-25 minutes, then continue cooking the main cake. I can get a whole square cake plus 6-12 (depending on the size) cupcakes out of this.
- Green tea is great with this, or try genmai-cha (green tea with toasted rice grains in it). In the summer, a cool glass of mugicha (toasted barley tea) is perfect.
Please note that I'm no longer responding to "This recipe doesn't work!" comments. The recipe has been up here for years and it has worked for most people. Again, please be sure to follow all the steps carefully. Or, try another, easier recipe on this site.


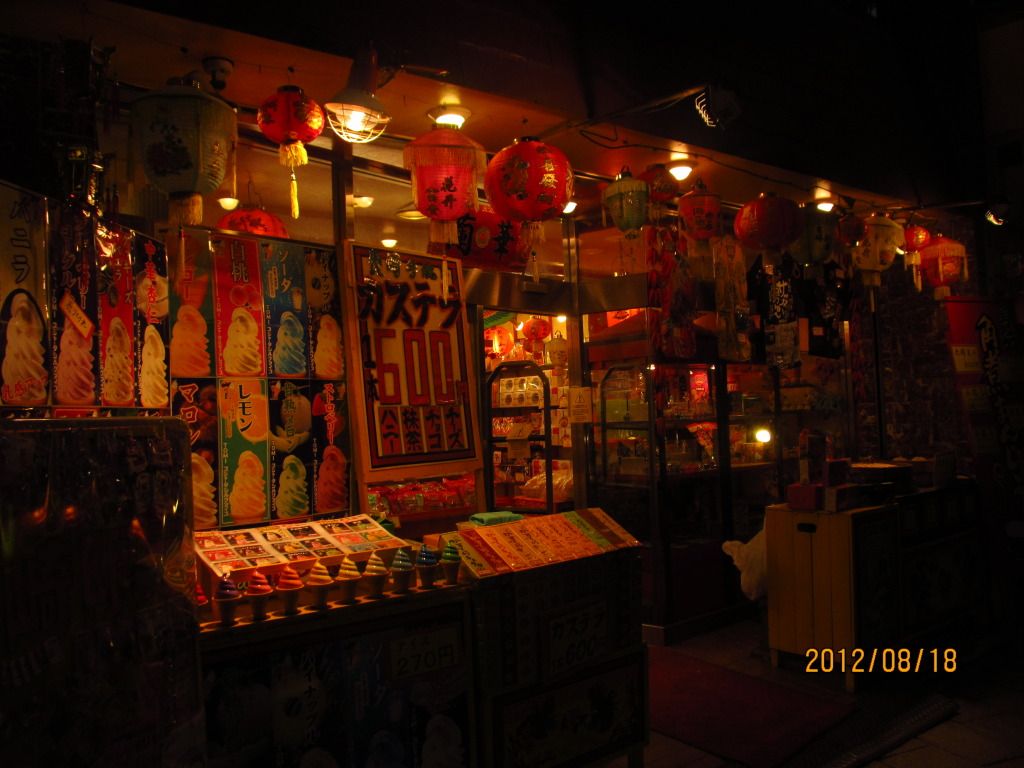



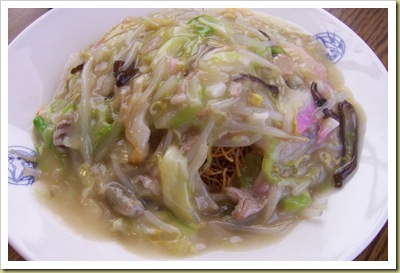
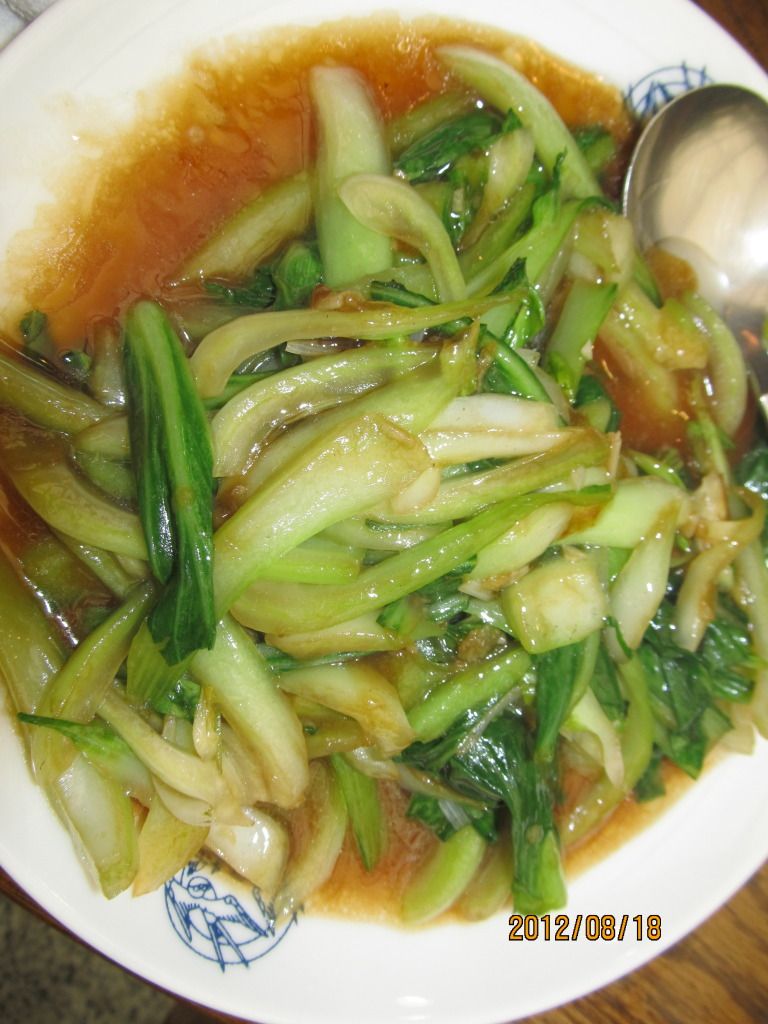









 Castella is a type of sponge cake introduced to Japan by Portuguese missionaries in the mid-16th century. It is believed to have been developed in Spain and Portugal. The first castella recipe that came to Japan called for mixing equal parts of three ingredients - flour, sugar and eggs - and cooking the mixture in a covered steam cooking pot (either rectangular or round) with fire both above and below. Beginning in the early Edo period, the recipe gradually evolved with the addition of starch syrup as sweetener and other ingredients. The recipe continued to be improved until the development of today's uniquely moist Japanese castella. "Nagasaki castella" remains immensely popular as a souvenir of Nagasaki, and city residents take great pride in it. Moreover, each producer continues to prepare modern castella with many innovations while respecting the traditional flavor.



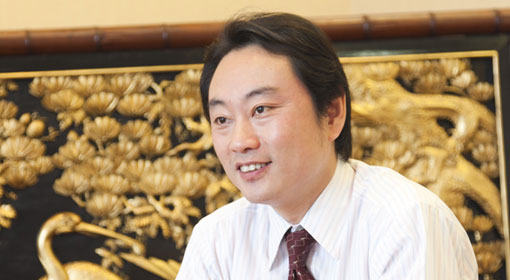 Mr. ChinYuTsugi
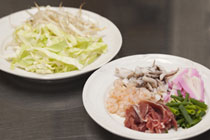
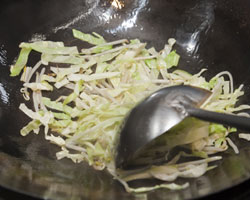 I fry the bean sprouts and cabbage first
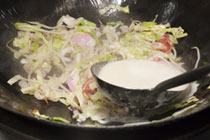
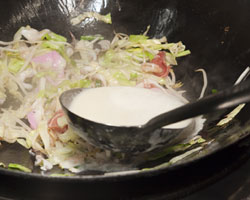 After stir-fried ingredients of all, put a soup
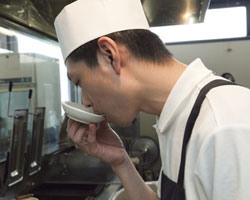
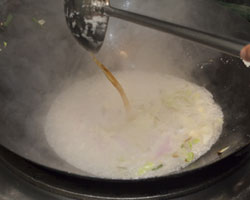 Was allowed to boil, taste and put the two types of soy sauce
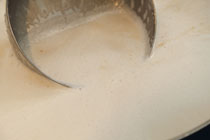
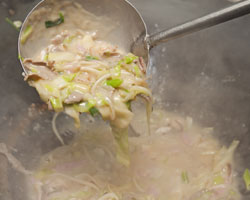 I put in a thickened Mizutoki potato starch.By add thickness, ingredients rides beautifully on top of the noodles
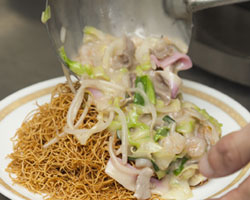 Completed over the sauce to noodles, which had been served on a plate well form
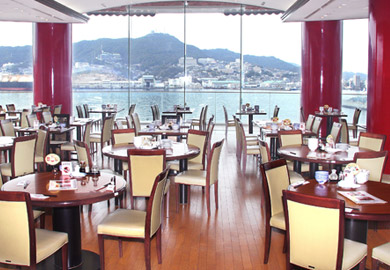 Picture outlook restaurant on the fifth floor overlooking Nagasaki Bay. History of Four Seas Tower is seen first floor souvenir shop, second floor "Chanpon Museum", the third floor multi-purpose hall, 4th floor large and small banquet hall and parlor


 Teruo Hayashi's
 Heat the lard and white Shiboabura to pan, and fry over high heat sprouts, cabbage. And told me that he can only use about two months the wok to move violently
 Put the soup and seasoned with light soy sauce
 I put the ingredients of other
 And cook for a while to put the noodles
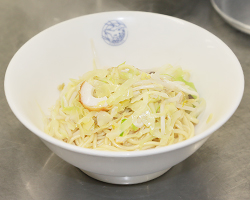 I put a bowl of noodles only first
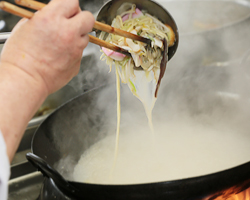
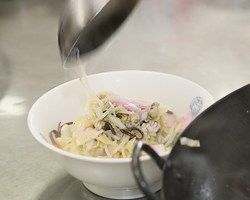 I put the toppings on top of the noodles
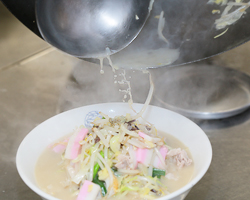 Completion by pouring the soup Furiire pepper
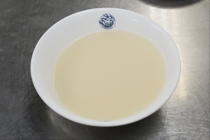
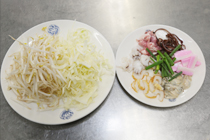
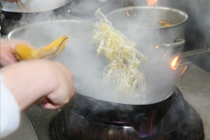
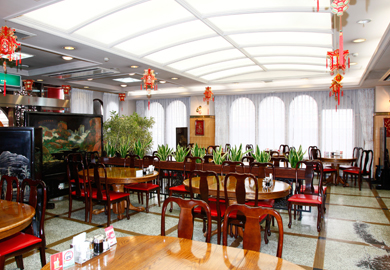 Photo first floor restaurant seat.There is an elegant private room furniture of China was also decorated with 3-5 floor
 Mr. RyuWataruAkira
 The noodles with a distinctive color, I keep boiled in advance
 Put the lard in a pan, fry bean sprouts, onion, cabbage
 Put the soup and seasoned with light soy sauce
 And cook a little to put the ingredients of other
 And cook a little and put the noodles
 First, I put a bowl of noodles only
 To fix the form and put the ingredients, pour the soup


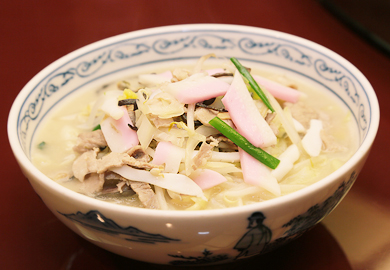 "Chanpon" 800 yen. Ingredients is gorgeous "special Chanpon" is 1,550 yen
 Nagasaki chanpon was created when Chin Heijun, a Chinese restaurant owner in Shikairo, suggested a cheap and nutritious dish for visiting Chinese students who lived frugally at the time. The first version was just a simple combination of pork and bamboo shoots, but eventually it came to include locally abundant ingredients and seafood such as squid, oysters, and shrimp harvested from Nagasaki's coastal waters. Also characteristic is the unique flavor achieved by adding Chinese lye to the noodles, which is normally included in the skins of Chinese dumplings. The origin of the word "chanpon" is the Fujian word shapon, which means "to eat a meal." Some believe it combines the sound of the Chinese bell, chan, and the pon sound of Japanese drums. One can say that Nagasaki's chanpon is a specialty born in Nagasaki yet matured under the influence of its creators, ingredients, and environment.
 Shippoku cuisine is an original creation of the Chinese living in the Chinese quarter. While it was intended to entertain Japanese and Western visitors, it spread to common households and evolved into a feast that is presented in traditional Japanese restaurants even today. The primary characteristic of Shippoku cuisine is jikabashi, the seating of the diners around a lacquered round table on which the food is served in one dish, with all diners serving themselves. This creates an atmosphere of omoyai (sharing) and contributes to a harmonious atmosphere. In addition, even before the toast, the custom is for the host to signal the start of the meal with mainly one phrase, "Please help yourself to the Ohire broth." Shippoku cuisine, which was introduced to Nagasaki, has evolved over the years with the blended influences of Japanese and Western cuisine. Today, it is a truly local cuisine of Nagasaki that combines the best of China, Japan, and the West.
 It is believed that Chinese sweets were introduced to Japan by the Chinese during the Edo period, although they were first produced only for Chinese nationals. Today, more than a dozen types of products are customarily made, the most well known being the gold money cake, yoriyori, and moon cake. The yoriyori is also known as mafa (hemp flower), which was handed down from the Peking region in ancient times. Its name comes from its shape, which resembles that of hemp thread, known as yoriyori in Nagasaki. The gold money cake (kin sen pin) is made in the shape of ancient Chinese money, and is considered a lucky sweet. The moon cake (geppei) contains finely minced dates, nuts, and dried fruit as well as pork fat, all kneaded together with bean jam, wrapped in dough, and baked. These confections can be purchased in the new Chinatown and at souvenir stores.
 The original loquat (biwa) was a wild variety of fruit in Japan, but it is believed that the origin of the mogi loquat was a fruit brought from China on a Chinese ship between 1830 and 1840. A woman by the name of Miura Shio brought back the seeds for this Chinese loquat, and when she planted it in her brother's field in the village of Mogi, it thrived and bore sweet fruit. This was the first generation of the mogi loquat. Plant husbandry was later improved through grafting, and today the loquat, as the taste of early summer in Nagasaki, is a specialty in which the entire country takes pride. This full-flavored fruit is small yet sweet and is not only eaten raw but also processed into many sweet products such as jelly candy, while the leaves can be used for loquat tea. It is a product used in a wide range of Nagasaki souvenirs.
 The basic ingredients of kamaboko are fresh local fish such as lizardfish, horse mackerel, and sardines. The fish meat is minced, salted, and combined with seasonings. This mixture is well kneaded, shaped, and heated, but the type is determined by the heating method, whether steamed, grilled, deep-fried, or boiled. Steamed kamaboko is typically available in slab form and the grilled form is a type of fish sausage known as chikuwa, while date maki uses an abundance of eggs for the unique flavor of Nagasaki. Hanpen, an essential ingredient for chanpon noodle dishes and udon dishes, is boiled, while deep-fried kamaboko - which uses fresh-caught fish such as horse mackerel and sardines mashed along with the small bones and deep-fried - is also a popular product. In recent times, a succession of new products have come out, such as peach kamaboko, which includes peaches and is eaten at celebrations, and carp kamaboko for the Boy's Festival in May. These are curiously flavored types of kamaboko, and the flavor continues to evolve on a daily basis.

















 The series 208 islands of varying sizes 25km north of Sasebo Port are called Kujuku Islands, and the density of the islands is number one in Japan. The islands' coastlines are often intricate, and you can enjoy beautiful coastal formations unique to ria shorelines. The islands were designated as Japan's westernmost national park on the sea in 1955, and the beautiful views and the animals that inhabit the islands are the greatest assets of Sasebo City.
 Kujuku Islands' sightseeing base Saikai Pearl Sea Resort offers various cruises, and at the Saikai Pearl Sea Center, you can gain a profound understanding on the nature of the islands while having fun.
 You can ride the leisure boat that tours the Kujuku Islands from Saikai Pearl Sea Resort. The journey takes approximately 50 minutes, and as the course zigzags through the islands, you can observe the islands up close. There is also a Sunset Cruise that offers the view of the sunset on board between July and October.
  Yachts that tour the Kujuku Islands also operate in the Saikai Pearl Sea Resort. It takes up to 10 passengers and the journey is about 50 minutes. The passengers can try their hands at steering or operating the sails. Booking is essential.
 As the sea of Kujuku Islands are very calm, it has great reputation as a place where you can enjoy sea kayaking safely. There is a canoe try-out corner every Sunday and during summer break, and beginners can also enjoy kayaking safely.
 The aquarium in the Saikai Pearl Sea Center exhibits many creatures that inhabit the Kujuku Islands. It houses a Touching Pool in which you can actually touch the creatures, and a tank for learning how to feed the fish. Fune-no Tenjikan (Ship Museum) that presents the history of ships created by mankind through models and videos is also one of its highlights. The pearl harvesting corner where you can try your hands at harvesting a pearl from a pearl oyster farmed in Kujuku Islands is also popular (500 yen per go.)

 The observatory is on the way from Saikai Pearl Sea Resort to the Zoological and Tropical Botanical Garden. It is the nearest observatory to the Kujuku Islands. The Kujuku Islands viewed from the observatory is beautiful like that of an ink brush paining even on a rainy day. It is wheel-chair-friendly.
 At 364 meters high, it offers a panoramic view of the Kujuku Islands and the city of Sasebo. The beauty of the evening view of the Kujuku Islands and the nighttime view of the city of Sasebo are a must-see.




 Kojima's husband IsaoJiro
 It is a mechanism that will clean the burnt hair by the meat flows slowly, with the skin
 One by one to cut the meat from the experience of a craftsman. It is not do it while achieving
 Cauldron that a battery of. Lye up ... craftsman and adjustment of the degree of fire is keep an eye out in constant attendance


 "Kakuni" is ¥ 600 1 pc. It is possible to taste "set meal kakuni" at 1050 yen at lunchtime